Quick Start: Fireground Analysis
A few tasks are required to describe the fireground's environment. Once established, these parameters are used to analyze the fireground and compute the fire behavior. The computed fire behavior is then coupled to the fire behavior outputs. Any change to the current time-of-day or the location or within the fireground will be reflected immediately in the fire behavior displays.
Step 1: Create a Project
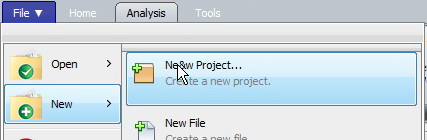
1. Select File > New > New Project.
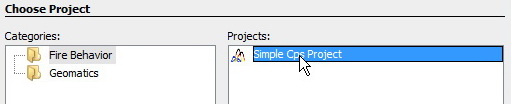
2. Choose the Fire Behavior > Simple CPS Project.
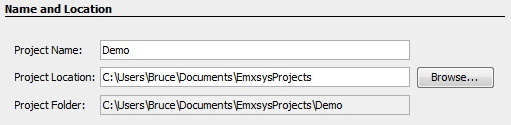
3. Specify the name and location for the project.
Step 2: Define the Fireground Sector
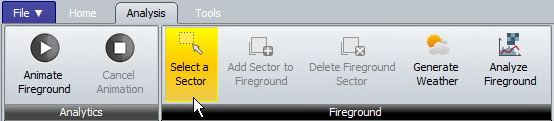
1. Choose Analysis > Select a Sector
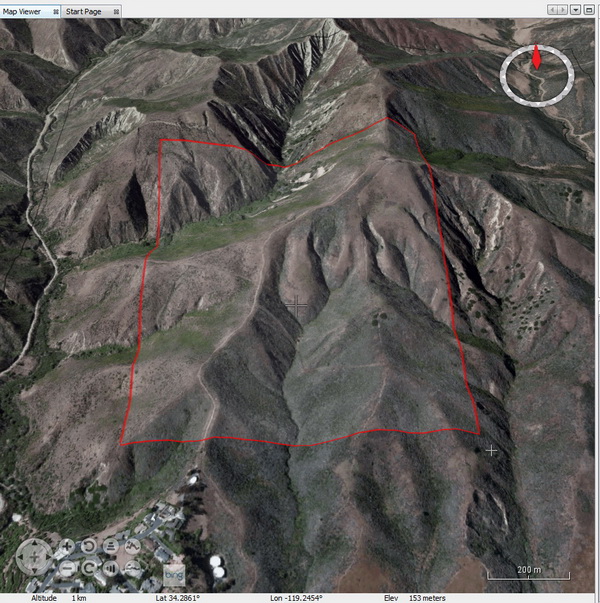
2. In the Map Viewer, click and drag the cursor to define the sector
extents. You can move and resize the sector if required, or you can
start over by clicking the Add a Sector button again.
Step 3: Add the Sector to the Fireground
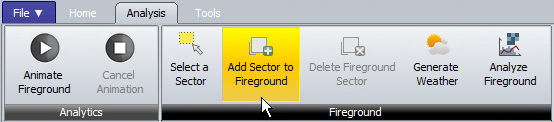
1. Choose Analysis > Add Sector to Fireground.

2. You will be prompted to select one of the available Fuel Models for the
fireground.
Step 4: Generate Weather

1. Choose Analysis > Generate Weather.
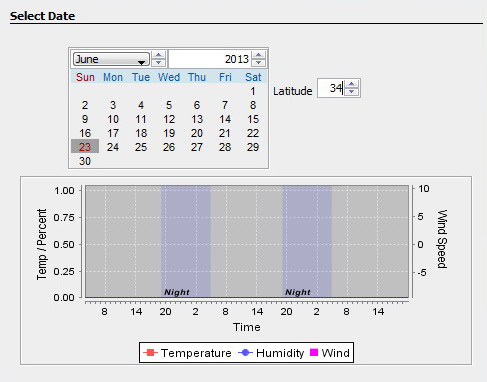
2. Adjust the start date and the latitude, both which affect the solar
heating of the fuels.
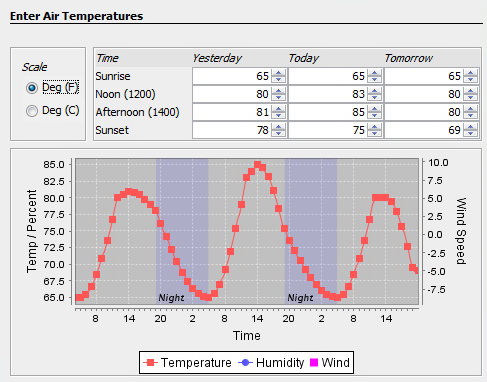
3. Adjust the air temperature senario.
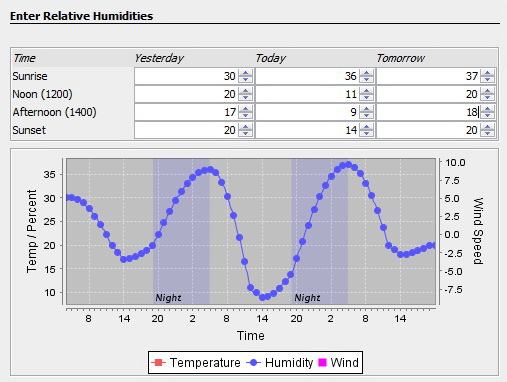
4. Adjust the relative humidity senario.
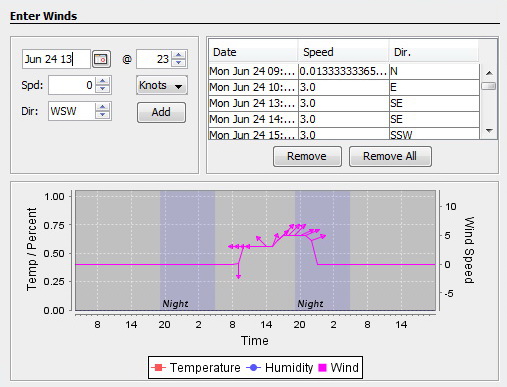
5. Adjust the wind scenario.
6. Adjust the rain and cloud cover scenario [not implemented yet]
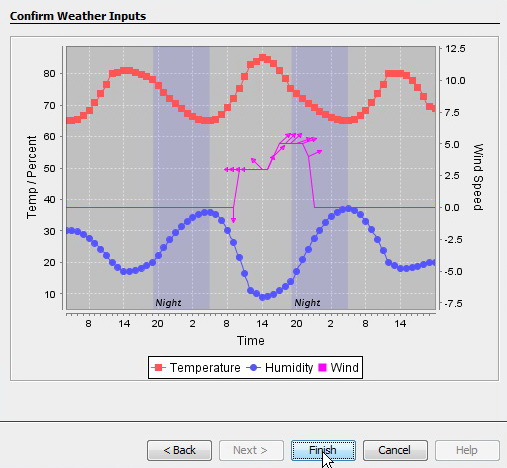
7. Confirm your general weather scenario. You can re-run the Generate
Weather wizard again to edit the settings.
Step 5: Analyze the Fireground
1. Improve the accuracy of the analysis by zooming in close to the terrain before analyzing the fireground. Simply go the Map Viewer and zoom in close to the terrain. This will force the the analysis to use high-resolution terrain data.
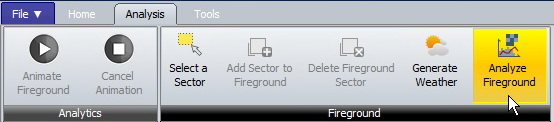
2. Choose Analysis > Analyze Fireground. This will compute the
fire behavior for every hour and every location within the fireground
sector.

3. You can monitor the progress of the analysis in the status bar.
When the progress bar disappears, the analysis is complete.
4. Optional: Choose File > Save All to save your analysis data.


